 ( 1 ) 7-May-2013
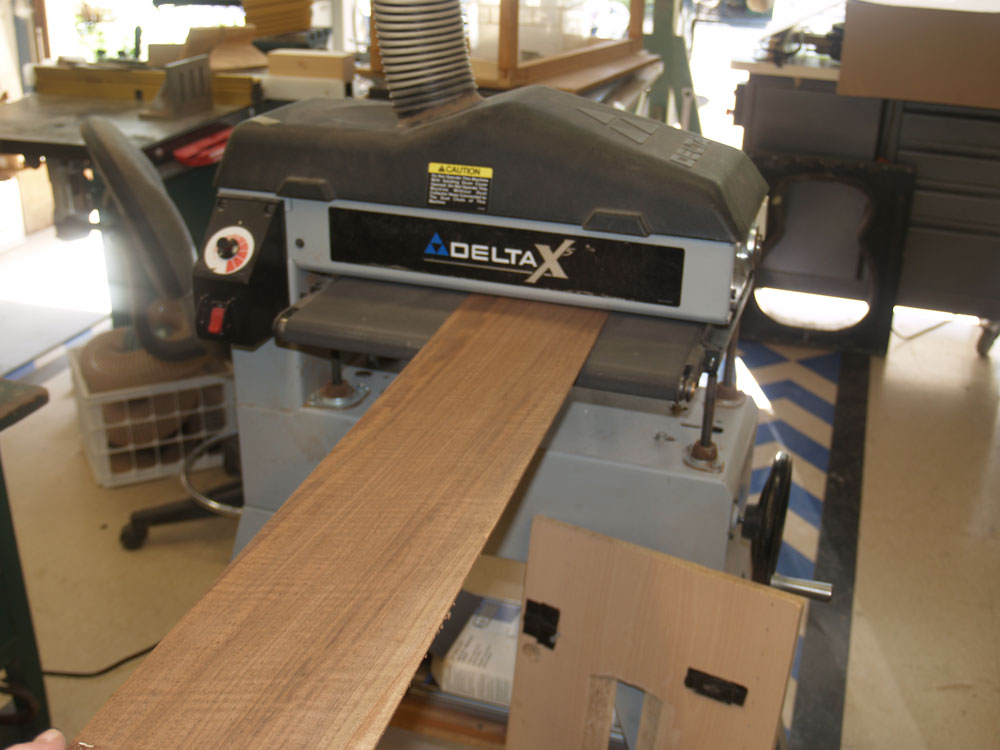
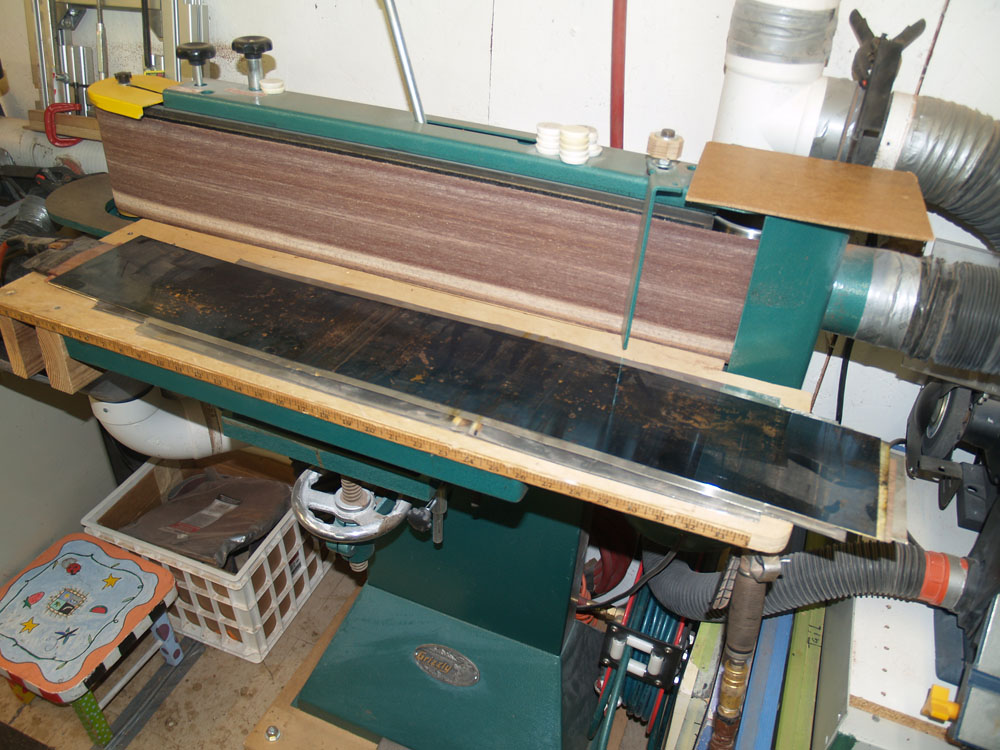
I start this guitar by dimensioning the sides. Here I am using the drum sander to make the side blanks about 110 mils thick.
Walnut Body
Sitka Spruce Top
Mahogany Neck
Pistachio Fretboard, Bridge, and Headstock
Maple Binding
Herringbone Purfling
Gold Frets & Gotoh Tuners
25.4 Inch Scale Length
( 1 ) 7-May-2013
I start this guitar by dimensioning the sides. Here I am using the drum sander to make the side blanks about 110 mils thick.
 ( 2 ) 7-May-2013
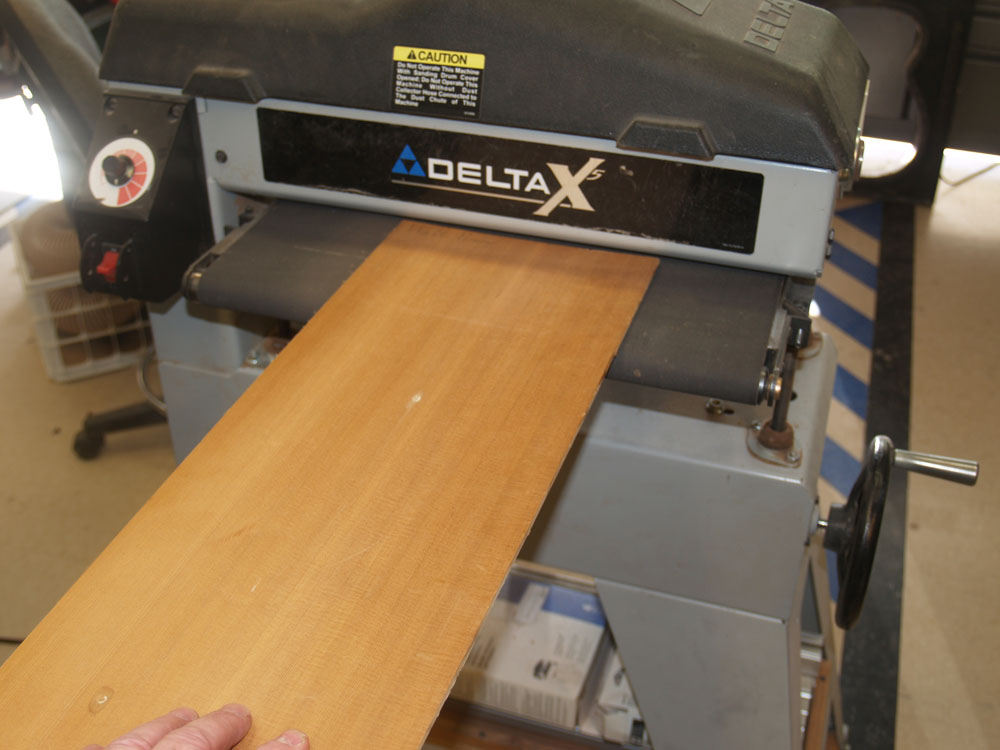
I use the drum sander again to dimension the top blanks to about 125 mils. After the blanks are joined and the rosette is set I will reduce the thickness to about 110 mils.
 ( 3 ) 7-May-2013
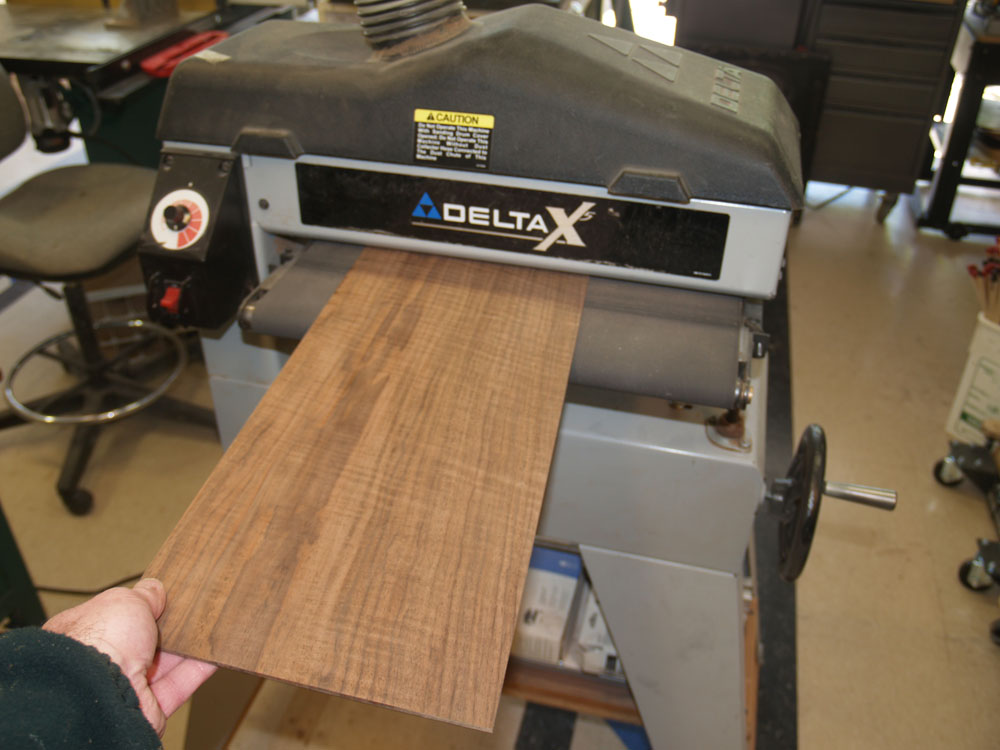
The back blanks get dimensioned to about 140 mils. After the blanks are joined the back is cut out I will reduce the back to its final thickness of about 110 mils.
 ( 4 ) 7-May-2013
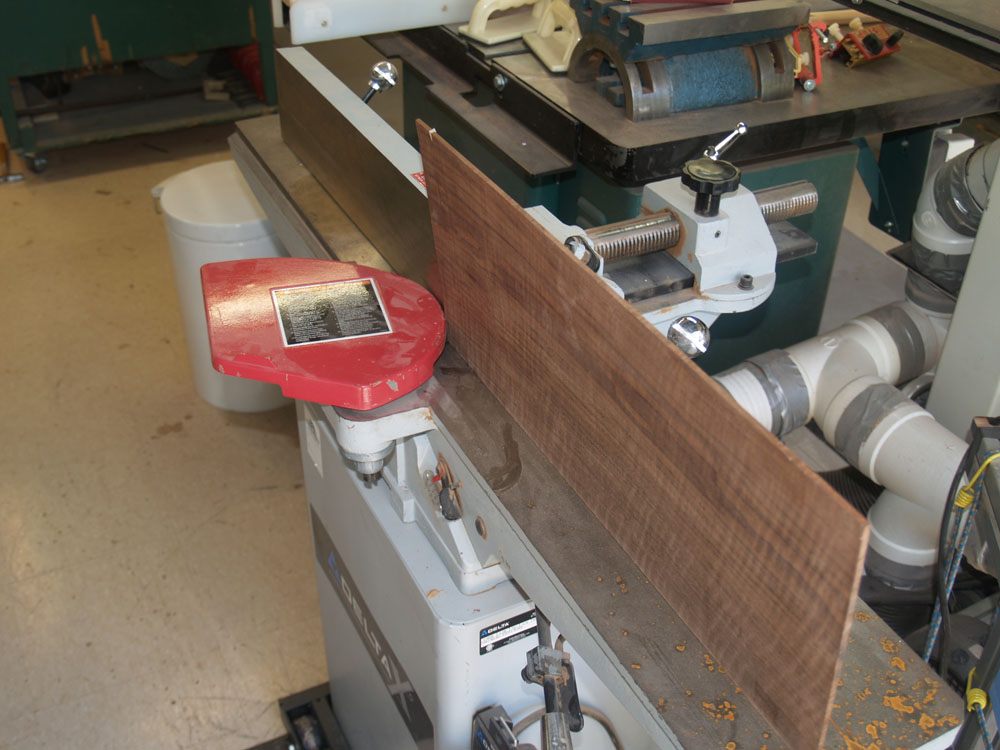
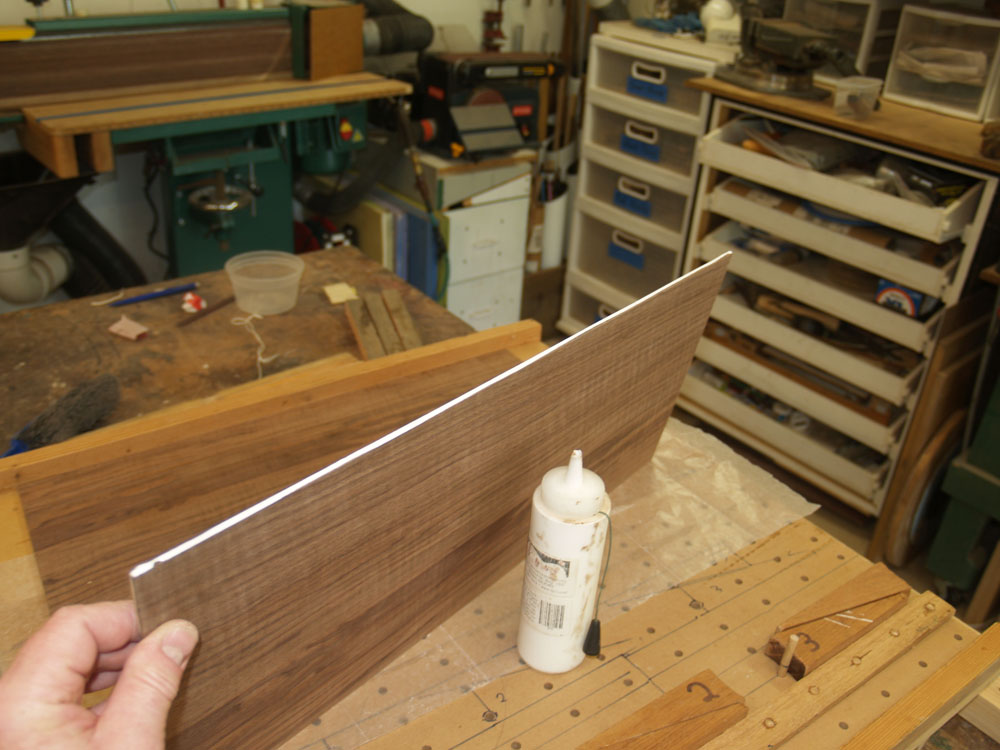
The edges of the back blanks need to be straight and perpendicular to the back. I use a jointer to do this.
 ( 5 ) 7-May-2013
A bead of luthier's glue is run along the edge.
 ( 6 ) 7-May-2013
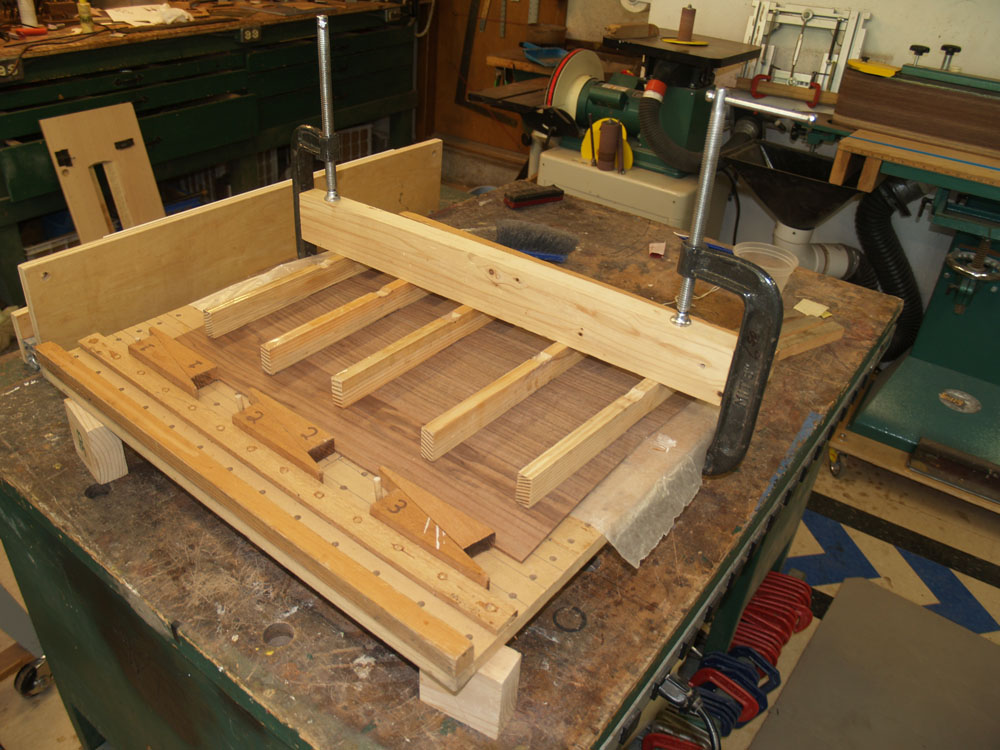
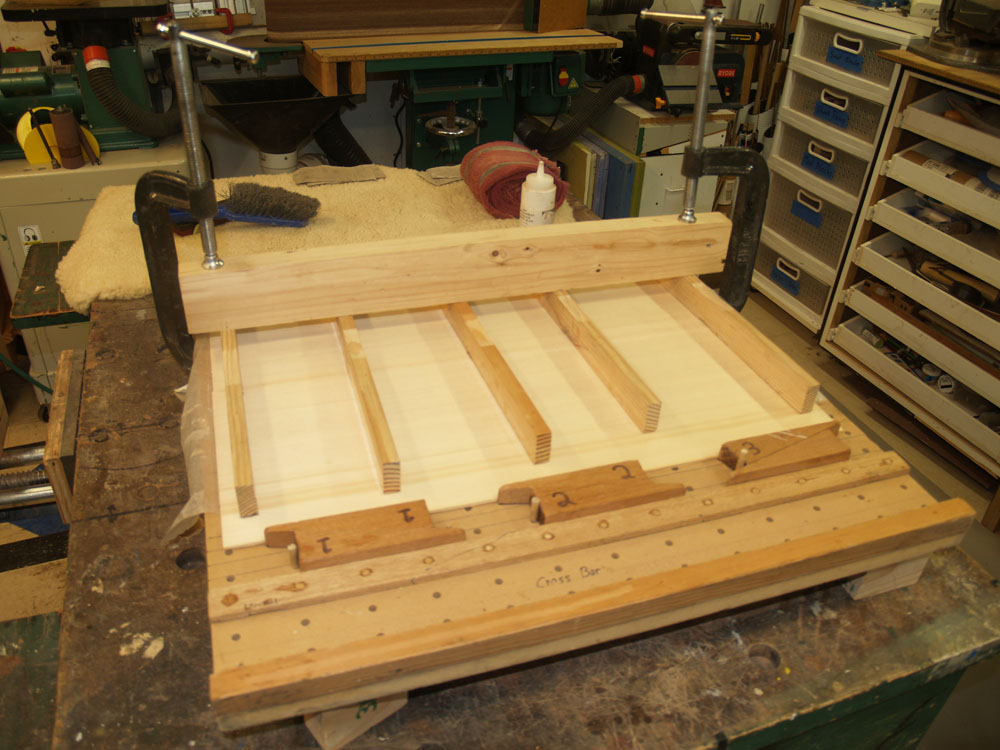
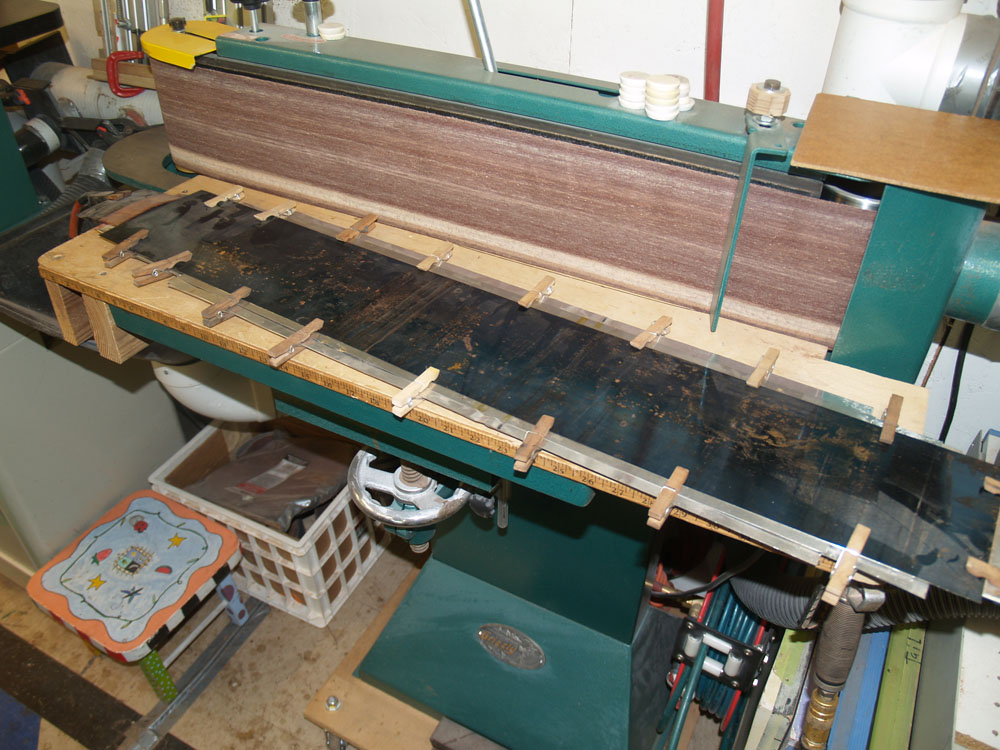
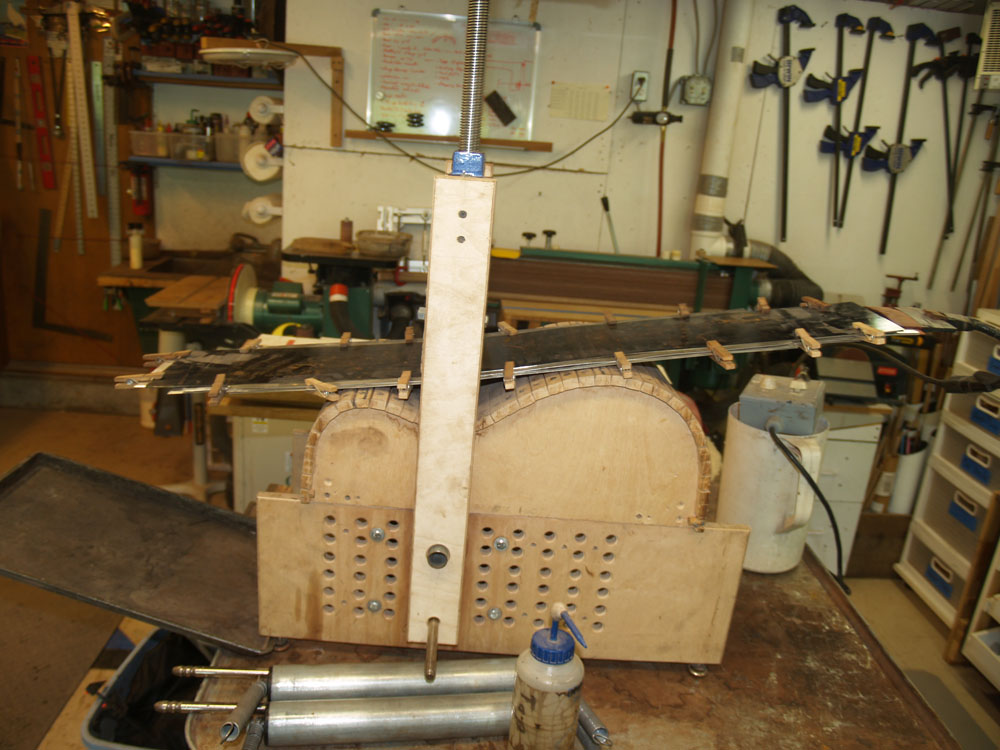
There a numerous ways to join the top and back blanks. I use this rig to line up the to pieces, hold them flat and press them together.
 ( 7 ) 7-May-2013
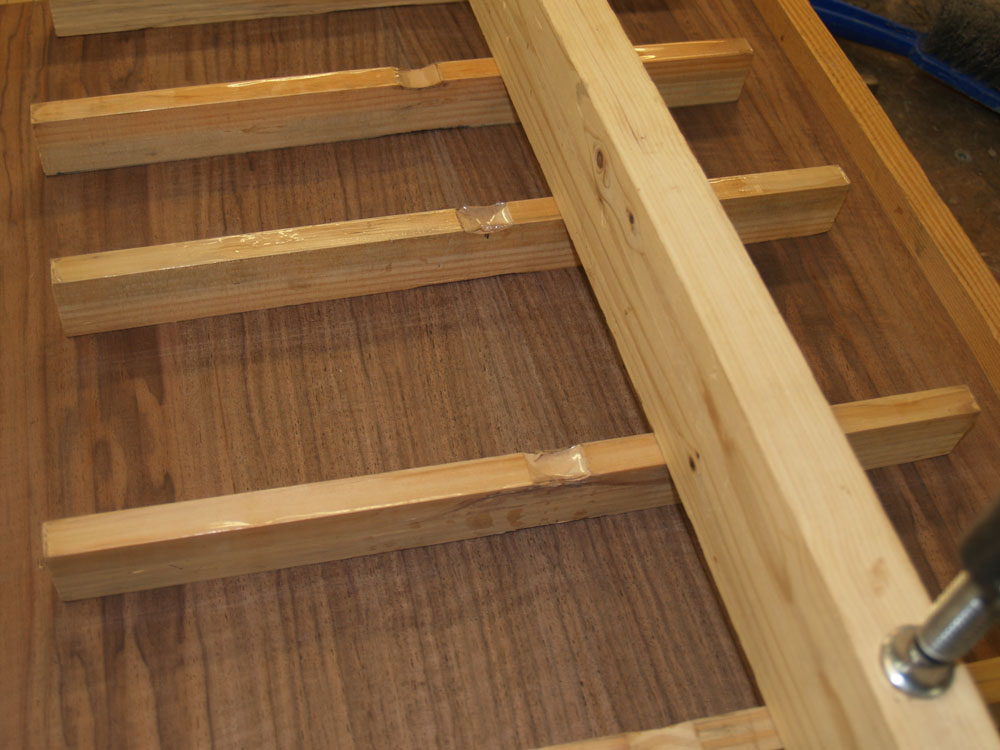
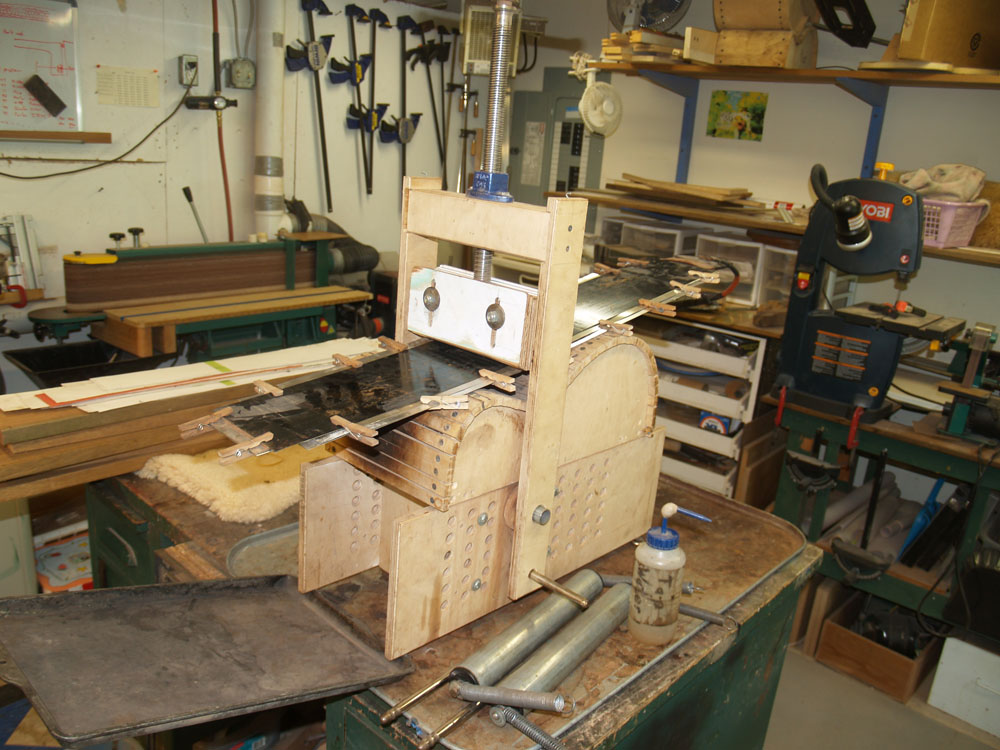
The cross pieces keep the blanks from buckling while the wedges push the pieces together.
 ( 8 ) 7-May-2013
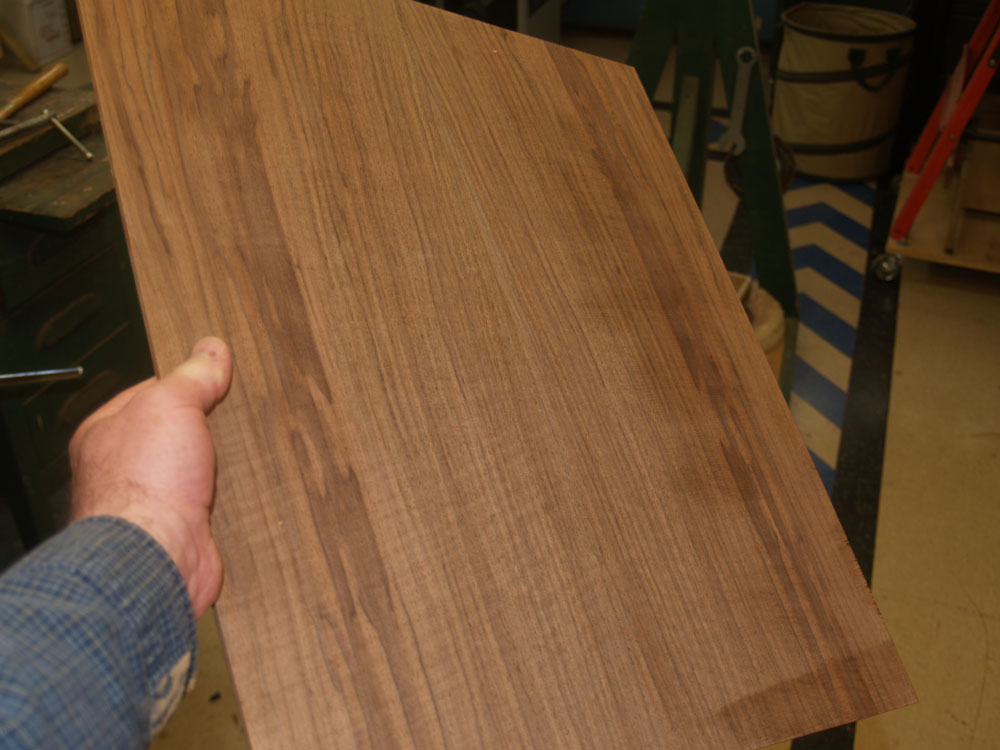
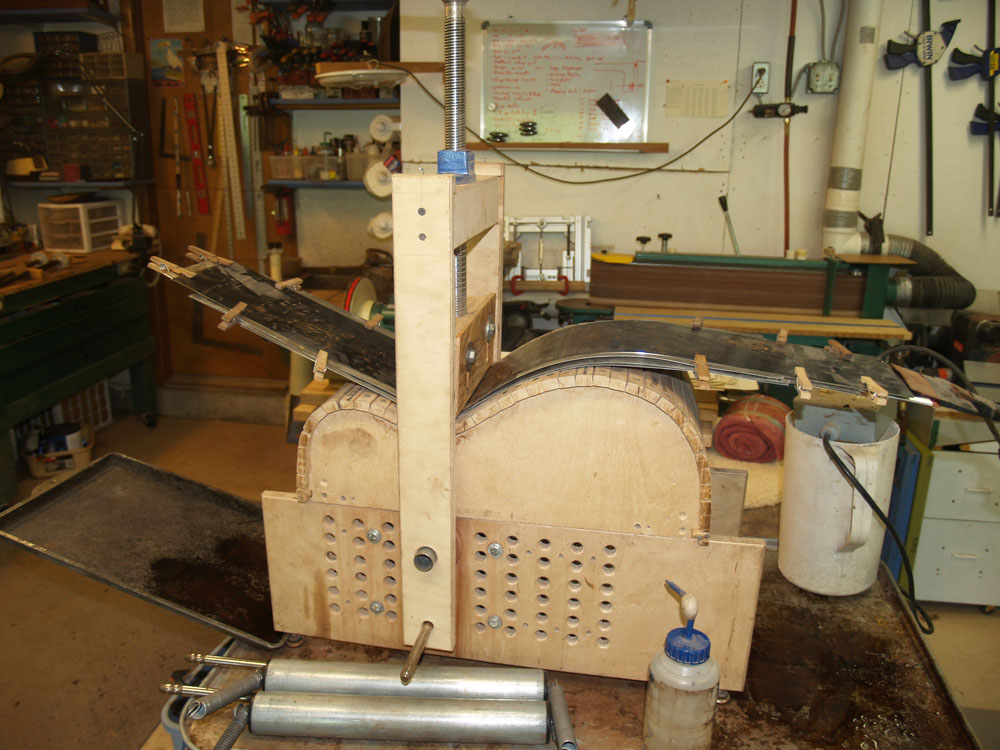
After the glue sets up overnight I pull the joined pieces out of the joining rig.
 ( 9 ) 7-May-2013
The top blanks get the same treatment as the back. It is critical that the edges of the top make a perfect fit. My objective is to make the seam disappear.
 ( 10 ) 7-May-2013
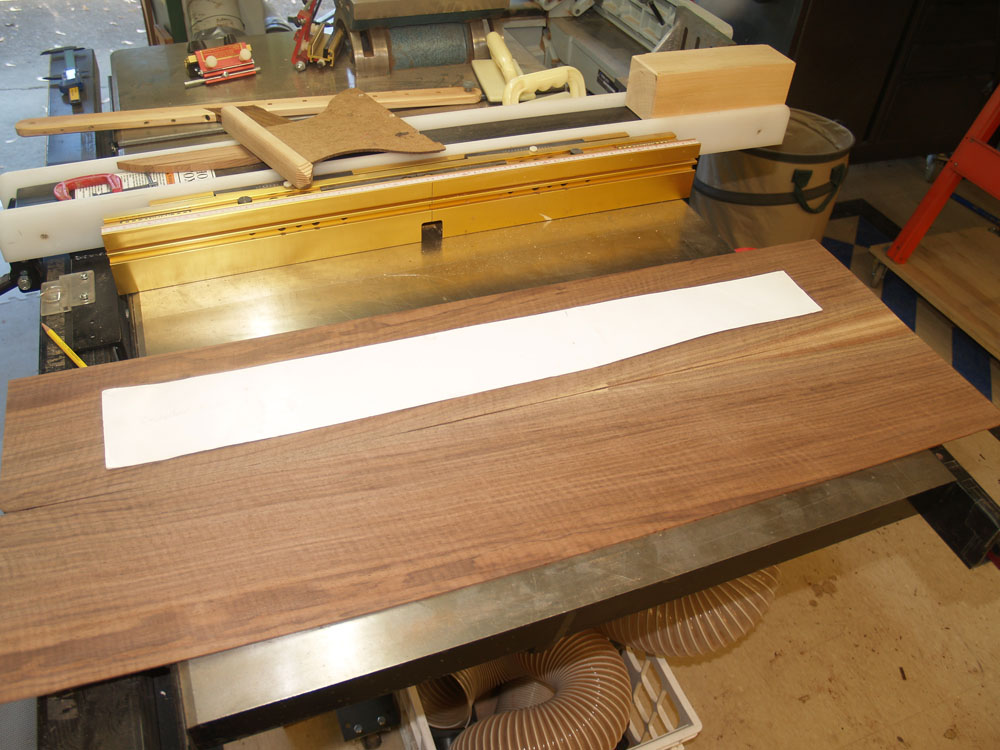
Now I am getting ready to bend the sides. Before I start I lay out the the sides to make sure all the grains and figure are lined up properly.
 ( 11 ) 7-May-2013
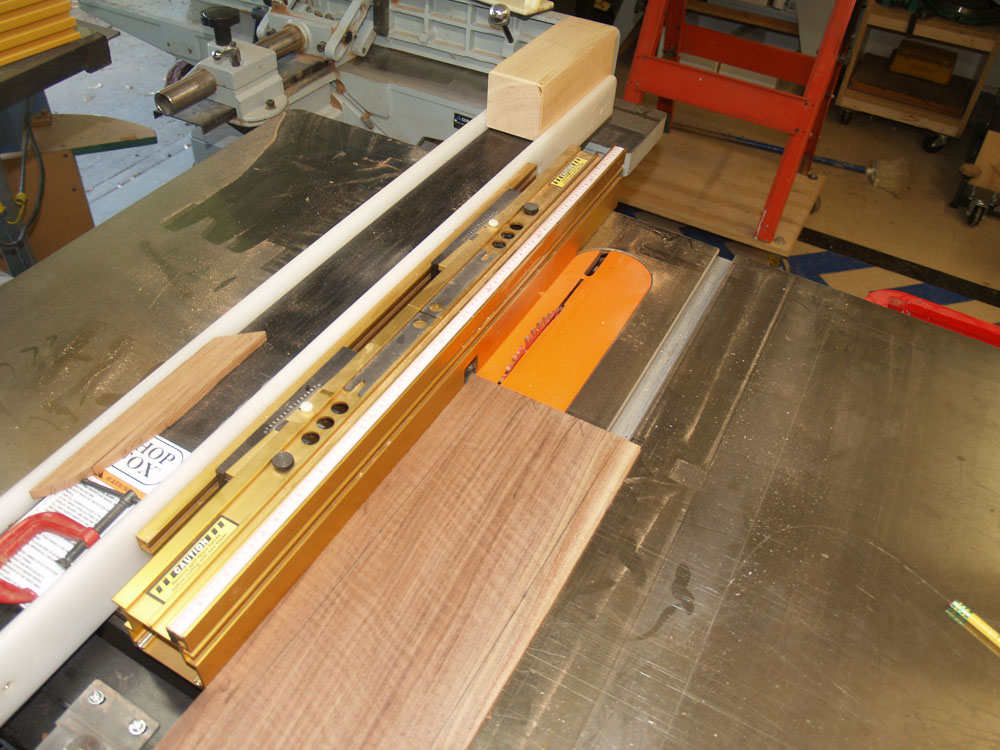
I use the table saw to trim off the excess.
 ( 12 ) 7-May-2013
To bend the sides I will use a heating blanket and a bending machine. Here I am laying the side blank on the heating blanket.
 ( 13 ) 7-May-2013
Next comes an aluminum sheet.
 ( 14 ) 7-May-2013
And finally a sheet of spring steel is placed on top. The spring steel prevents the side from over bending and cracking should there be a weak spot.
 ( 15 ) 7-May-2013
I hold the whole assembly together with modified clothes pins.
 ( 16 ) 7-May-2013
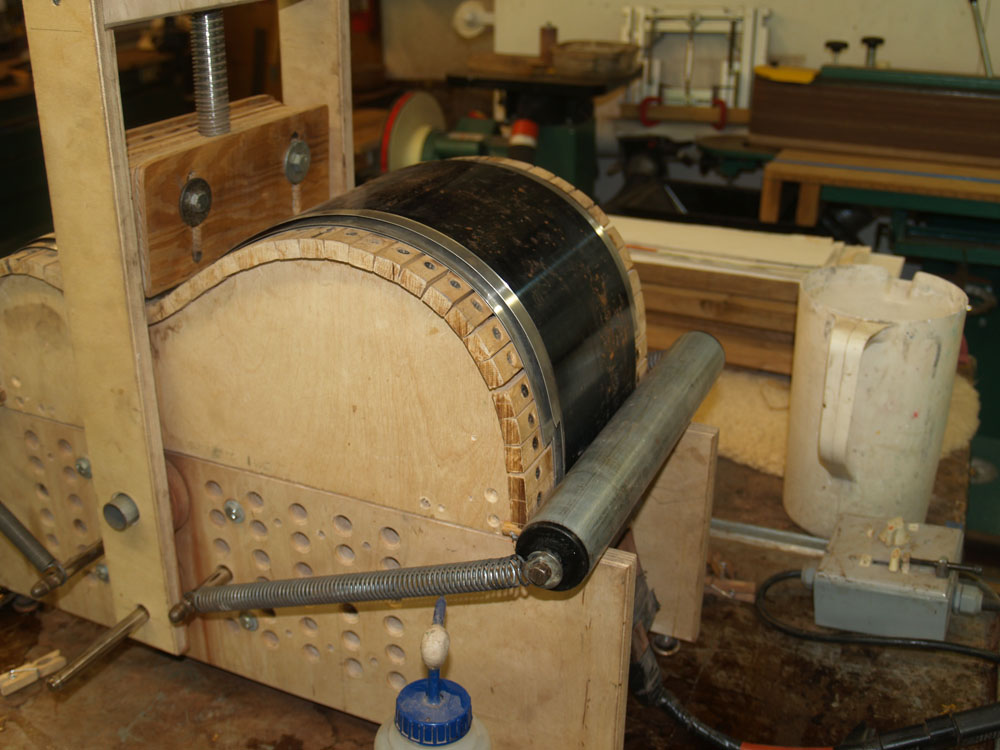
I next place the assembly into the bending machine.
 ( 17 ) 7-May-2013
And bring the waist shoe into contact with the assembly.
 ( 18 ) 7-May-2013
I turn the heating blanket on and wet down the wood with a squirt bottle of water. After the wood has heated up sufficiently I press the waist into place.
 ( 19 ) 7-May-2013
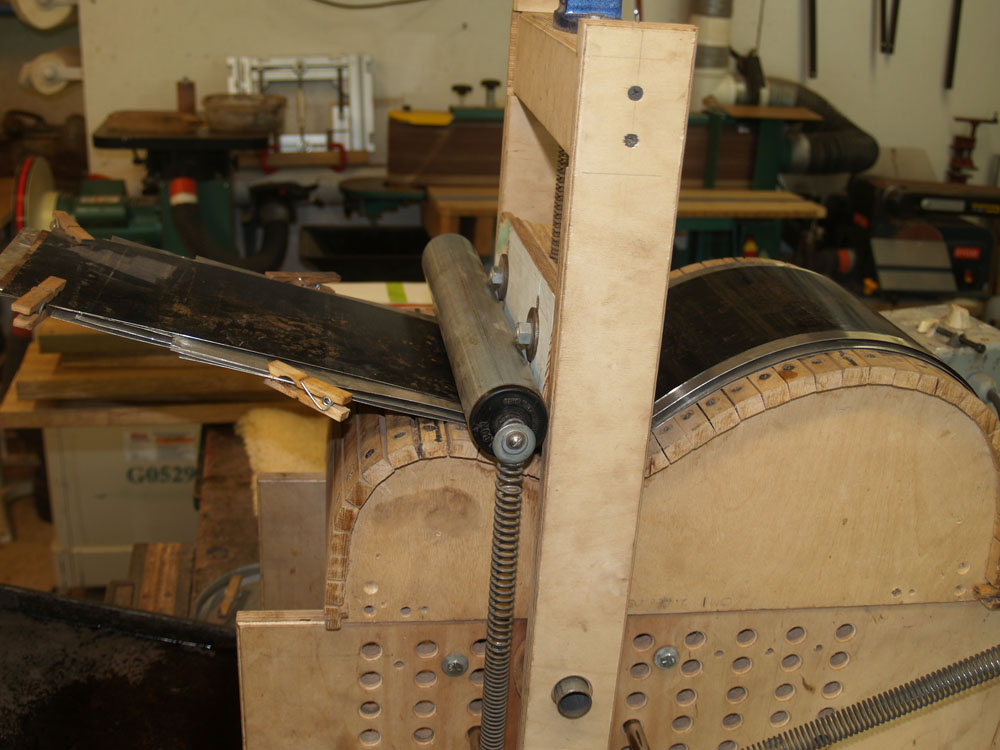
Next the lower bout roller is attached.
 ( 20 ) 7-May-2013
And the lower bout gets rolled into shape.
 ( 21 ) 7-May-2013
The upper bout roller gets attached.
 ( 22 ) 7-May-2013
And the the upper bout gets rolled into shape.
 ( 23 ) 7-May-2013
To promote the drying process I remove the top layers of the heating assembly.
 ( 24 ) 7-May-2013
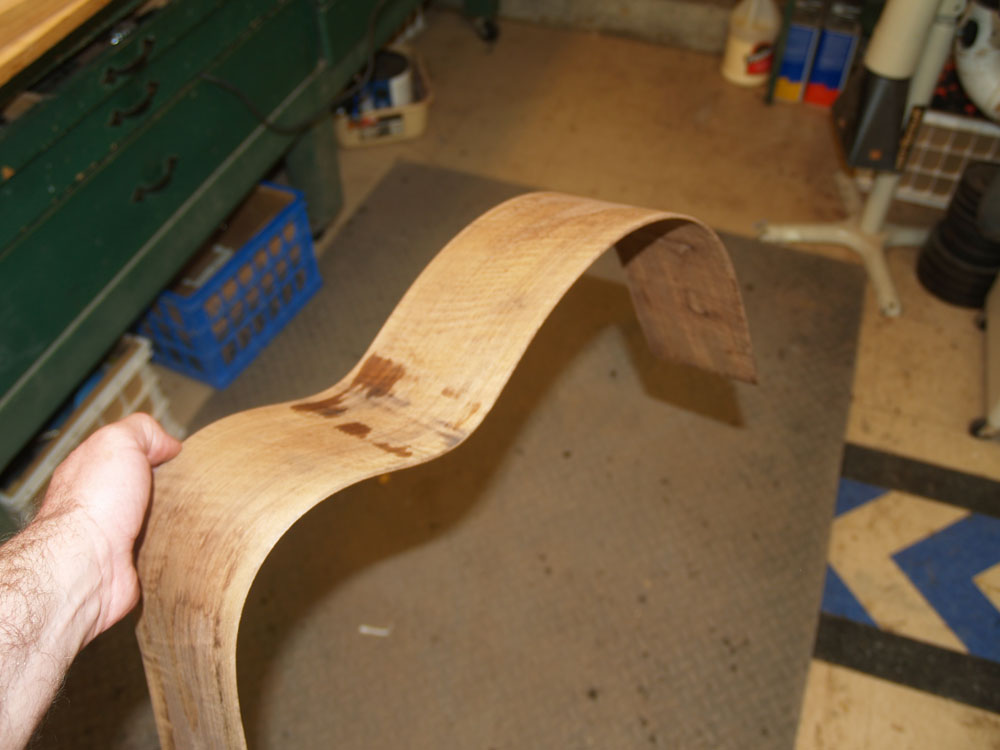
And after the side has cooked on low heat for an hour or so I pull it out of the bending machine.
 ( 25 ) 7-May-2013
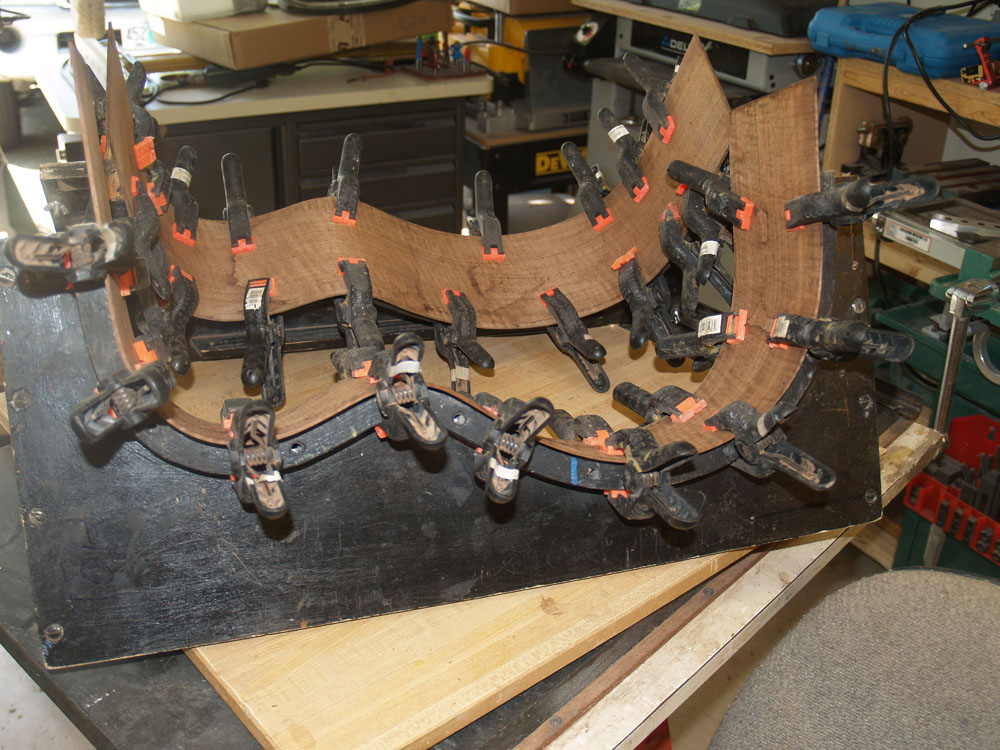
To maintain its shape until I am ready to work on it some more I place it in its side form.
 ( 26 ) 7-May-2013
The other side gets the same treatment as the first and in the end I have two side ready to have their kerfing applied.